My 2012 Solidoodle 2 Pro 3D printer’s original extruder got irreparably clogged, so I needed to replace the hotend. I decided to go with an E3D v6 1.75mm hotend (USA). This necessitated first disassembling the original acrylic, jigsaw extruder.
Tools
- 2.5mm hex key
- 4mm hex key
- small 5.5mm hex socket wrench, adjustable spanner, or 7/32″ hex socket wrench (in order of preference)
* In case it wasn’t obvious, the printer should not currently be plugged in and it should have completely cooled before you do any of this. *
Get access to the extruder assembly. Make sure you have the bed moved down enough (while it was powered and connected to a computer) for you to work around the extruder.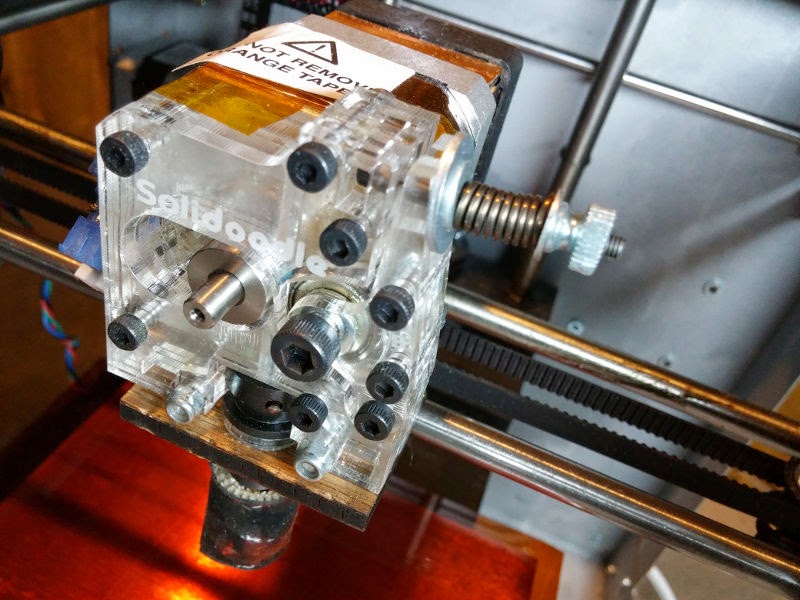
Now all you need to do is the reverse of how it was assembled in the first place. Easy.
Unscrew the thumb nut from the spring-loaded tension arm and remove its components (nut, washers, spring, and bolt). Unscrew all the front-facing hex socket bolts using the 2.5mm hex key. Some of these bolts are secured from the other side with a lock nut; you will need to hold the lock nut in place with the spanner or wrench in order to remove the bolt.
Set aside the tension arm (or its pieces if you’ve taken that apart too).
Carefully remove the acrylic pieces one layer at a time. They are especially weak at the bottom and can crack if you aren’t sufficiently careful.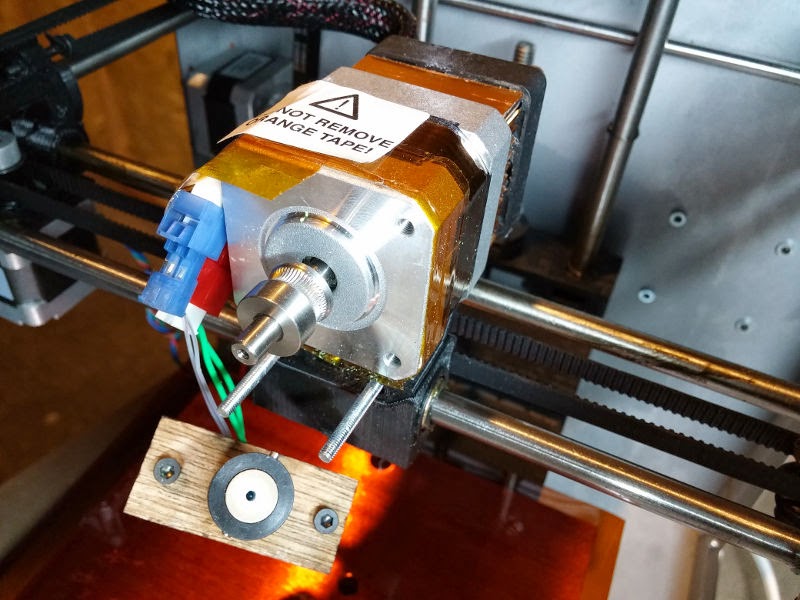
Hopefully you’ve kept good track of the pieces for whatever your plan is after removing the disassembled extruder.
Extract the old hotend wires from the connectors. They can be pulled up and out, although it takes some force, if you pry the connectors open slightly.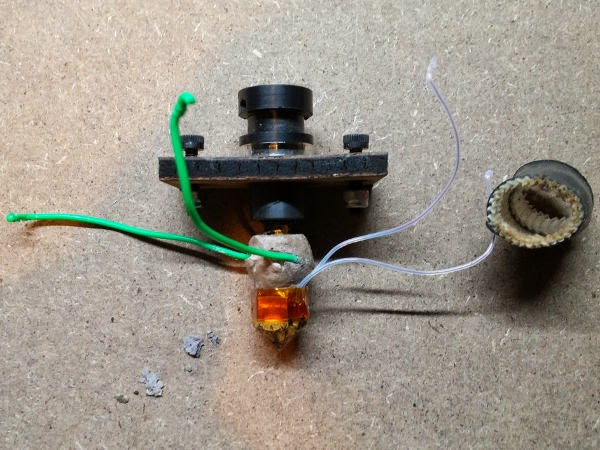
Sources
- “How to Assemble Acrylic Extruder” on the official Solidoodle Wiki
Additional Material
- “Decimal Equivalents” by Greenfield Industries